

How To Install Mosaic Tiles With Mesh Backing from China Supplier
Are you navigating the world of mosaic tiles with mesh backing? I understand the challenges faced by B2B purchasers like you. I’ve partnered with reliable suppliers in China to bring you an exceptional selection of these tiles. They offer easy installation, making it simple to elevate any space. I really appreciate how these tiles come pre-mounted on mesh, which simplifies the installation process and allows for quick layout adjustments. Whether you're redoing a commercial space or a large-scale project, these tiles can save you time and labor costs. With our competitive pricing and high-quality selection, you can trust that you're making the right choice for your clients. Let’s elevate the aesthetics of your projects together—reach out to learn more about our range and pricing, and let’s transform your designs into reality!

How To Install Mosaic Tiles With Mesh Backing Supplies the World\u2019s Top Brands Factory-Direct Excellence
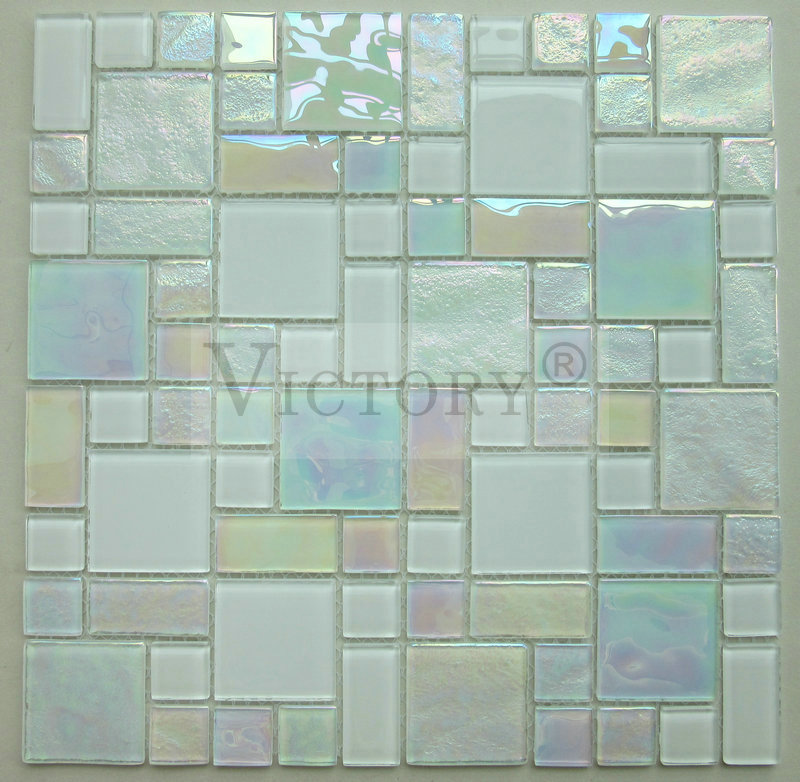
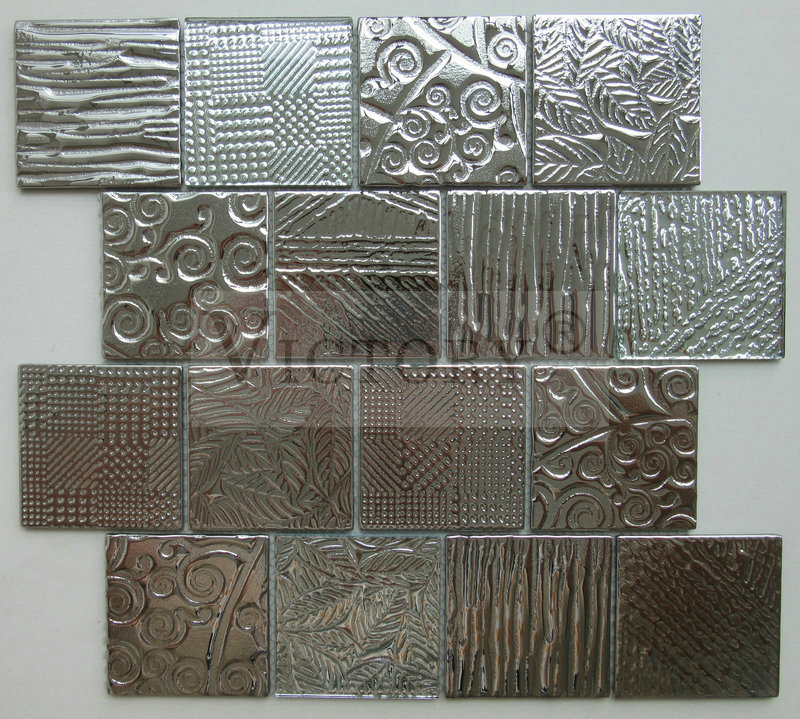
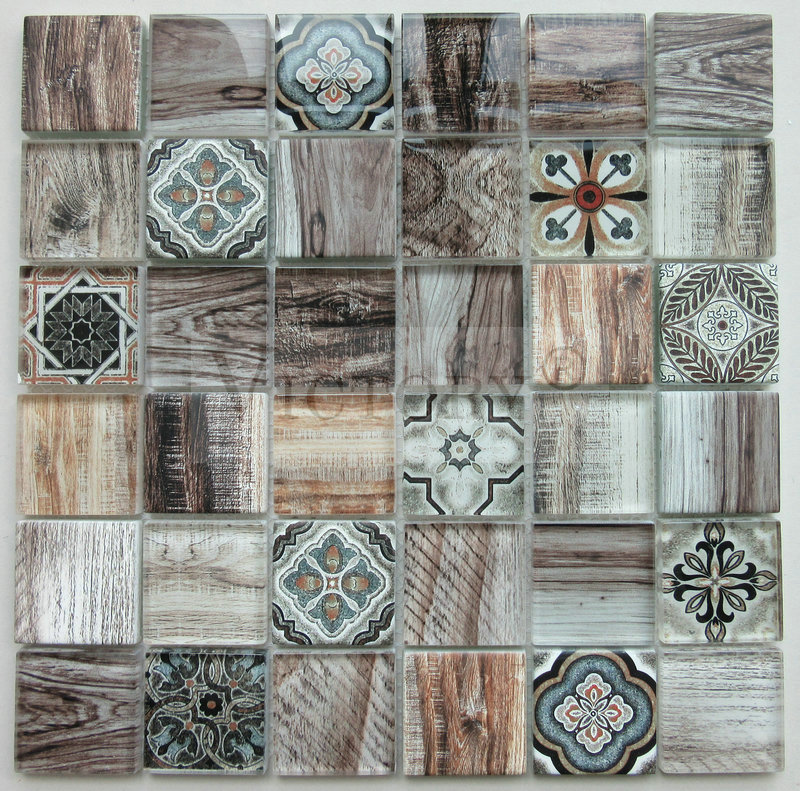
Installing mosaic tiles with mesh backing can transform any space while providing a durable and aesthetically pleasing surface. Whether you’re a professional contractor or a DIY enthusiast, understanding the installation process is essential for achieving the best results. First, ensure that you have all the necessary supplies: quality mosaic tiles, mesh backing, tile adhesive, grout, a trowel, a tile cutter, and spacers. Preparing the surface is crucial—make sure it is clean, dry, and level to allow for proper adhesion. To begin, apply the tile adhesive evenly on the prepared surface using a notched trowel. Then, position the mesh-backed mosaic tiles onto the adhesive, ensuring they are aligned and spaced correctly. Press down gently to secure them in place. Allow the adhesive to cure according to the manufacturer's guidelines. Once the tiles are securely attached, it’s time to grout. Apply the grout with a float, filling in the spaces between the tiles. After allowing the grout to set for a few minutes, wipe away any excess with a damp sponge, taking care not to disturb the grout lines. Finishing touches include sealing the grout to enhance longevity and protect against moisture. This method not only provides an efficient installation process but also showcases the beauty and variety offered by top-quality mosaic tiles. With the right supplies and a step-by-step approach, you can achieve stunning results that elevate any project. Whether you’re renovating a kitchen, bathroom, or commercial space, choosing the right mosaic tiles will ensure your project stands out with elegance and durability.
| Step | Description | Tools Required | Estimated Time |
|---|---|---|---|
| 1 | Prepare the surface by cleaning and leveling it. | Vacuum cleaner, leveling compound | 30 minutes |
| 2 | Plan the layout and design of the mosaic tiles. | Measuring tape, chalk line | 1 hour |
| 3 | Apply adhesive to the surface and the back of the tiles. | Notched trowel, tile adhesive | 1 hour |
| 4 | Place the mosaic tiles onto the adhesive and press down. | Tile spacers | 2 hours |
| 5 | Allow the adhesive to set before grouting the tiles. | None | 24 hours |
| 6 | Mix and apply grout between the tiles. | Grout float, sponge | 1 hour |
| 7 | Clean excess grout from the surface of the tiles. | Sponge, bucket | 30 minutes |
| 8 | Allow the grout to cure for a specified time. | None | 24 to 72 hours |
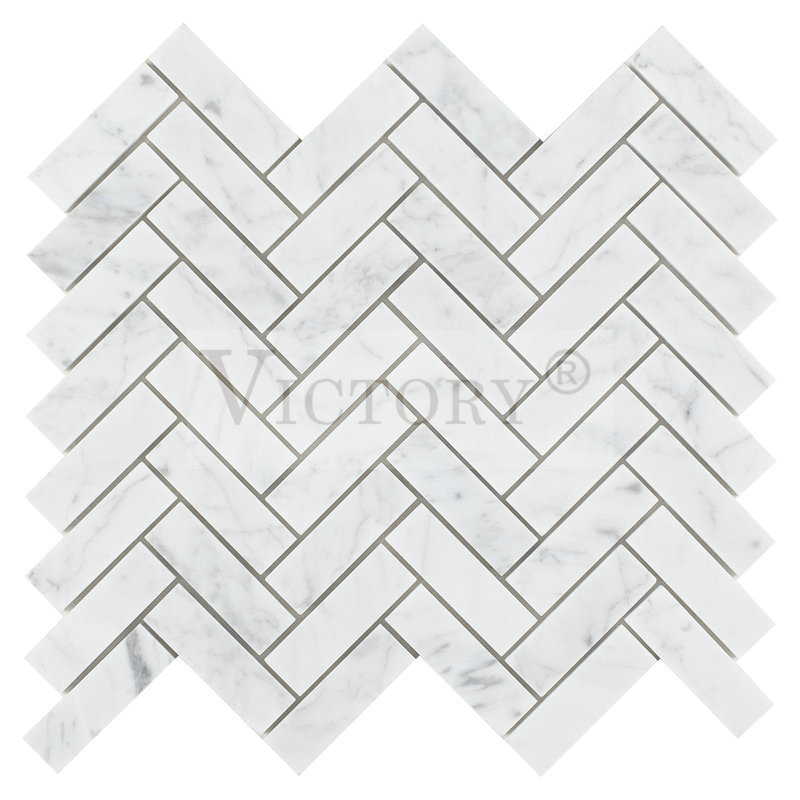
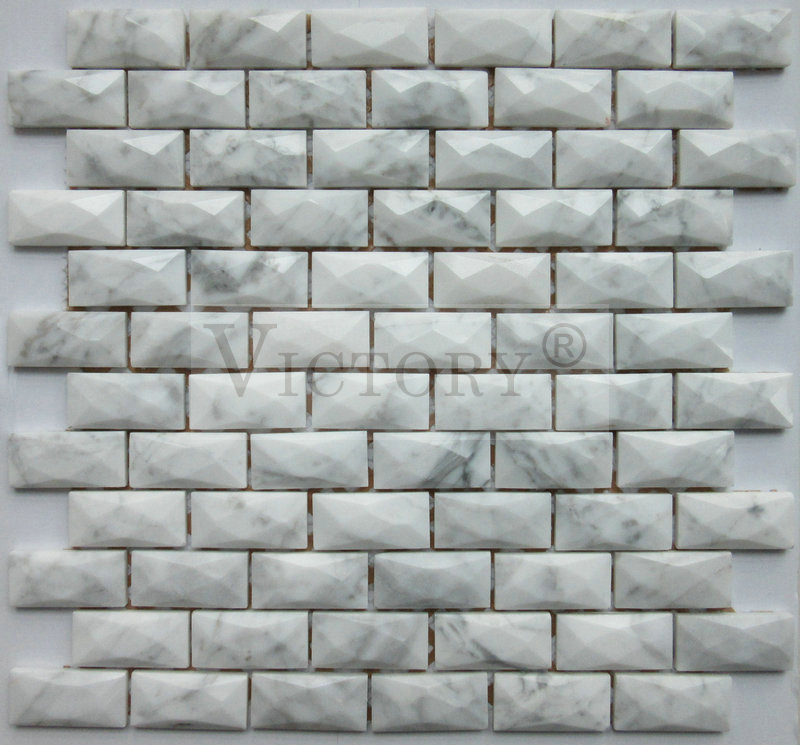
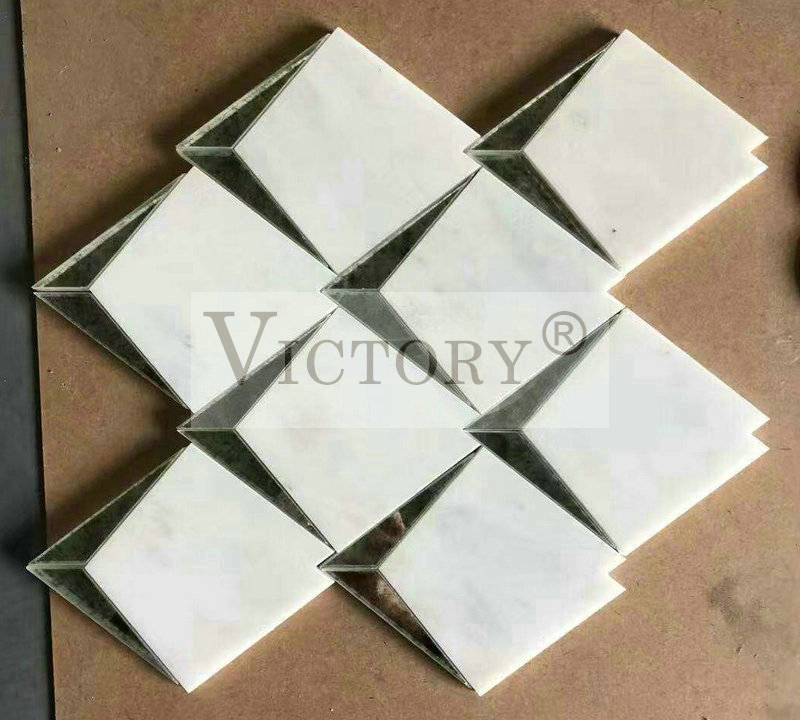
Related Products
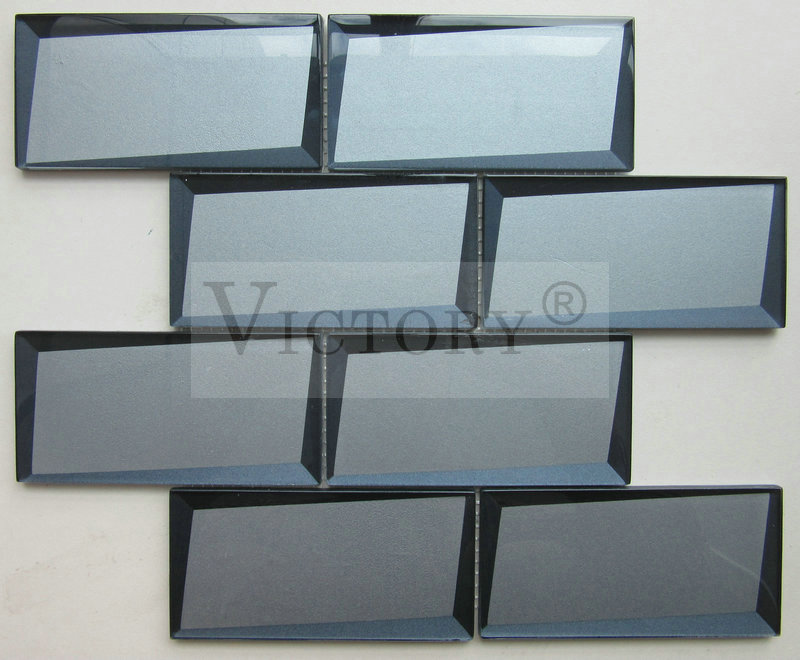
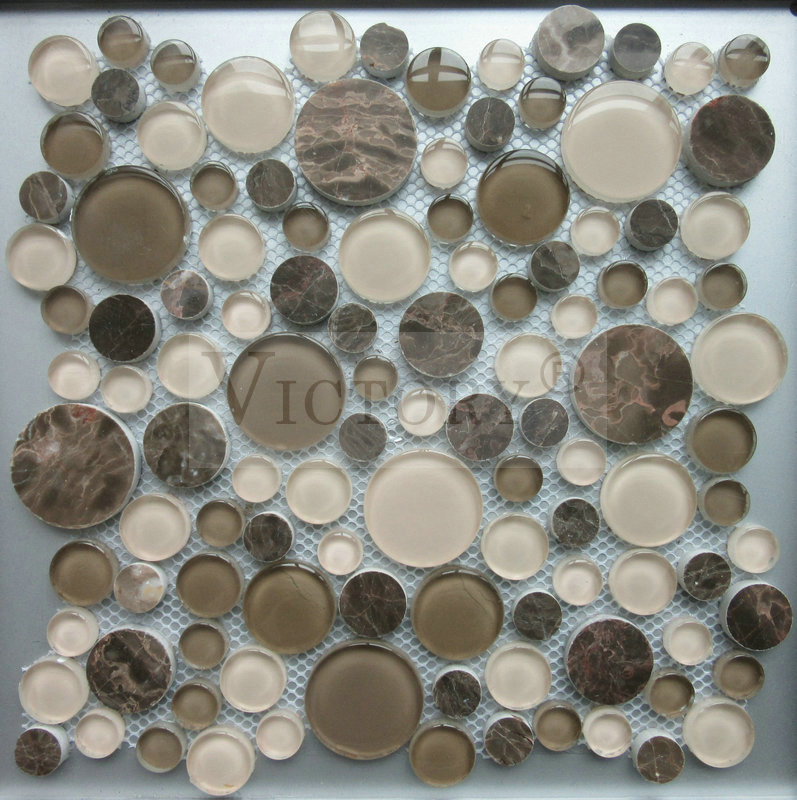
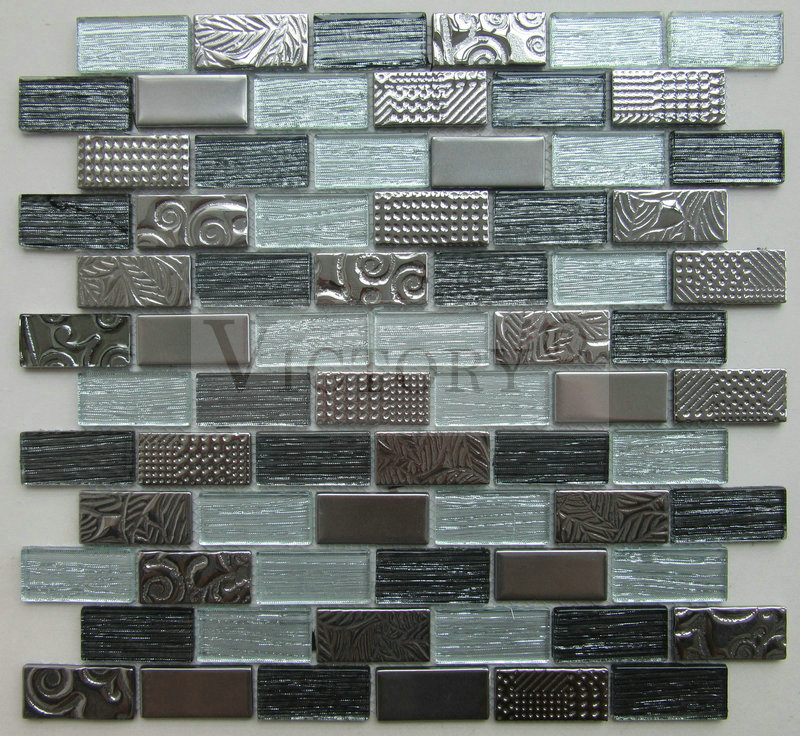
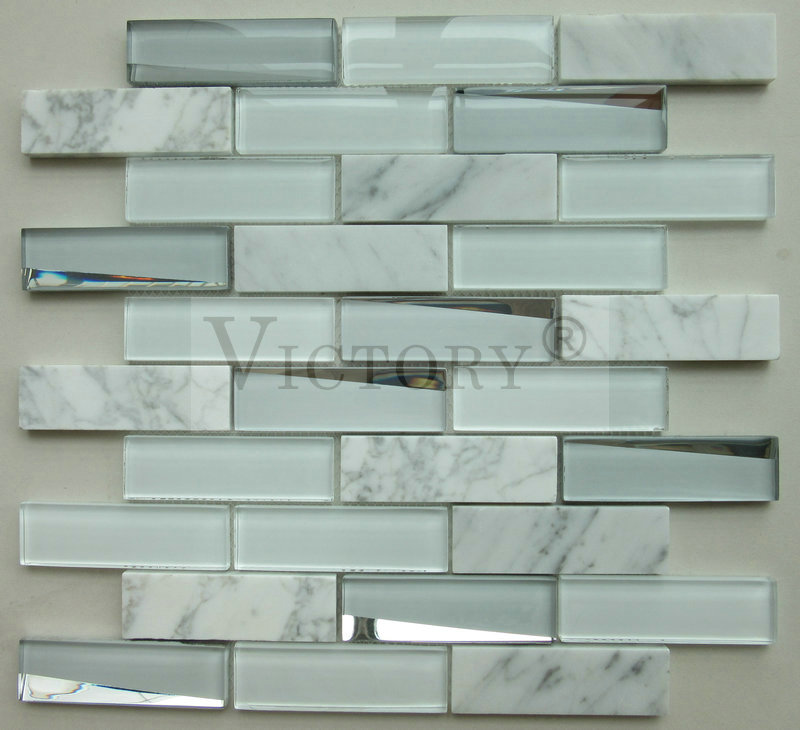
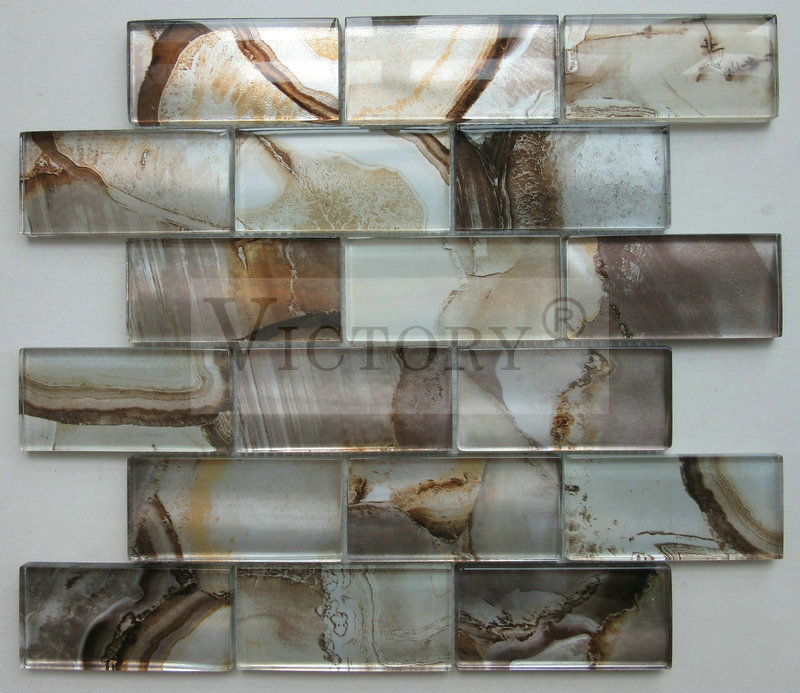
Wholesale China Electroplated Mix Crystal Glass Stone Mosaic Tiles for Wall Backsplash Kitchen Bathroom Shower Hotel Projects
Read More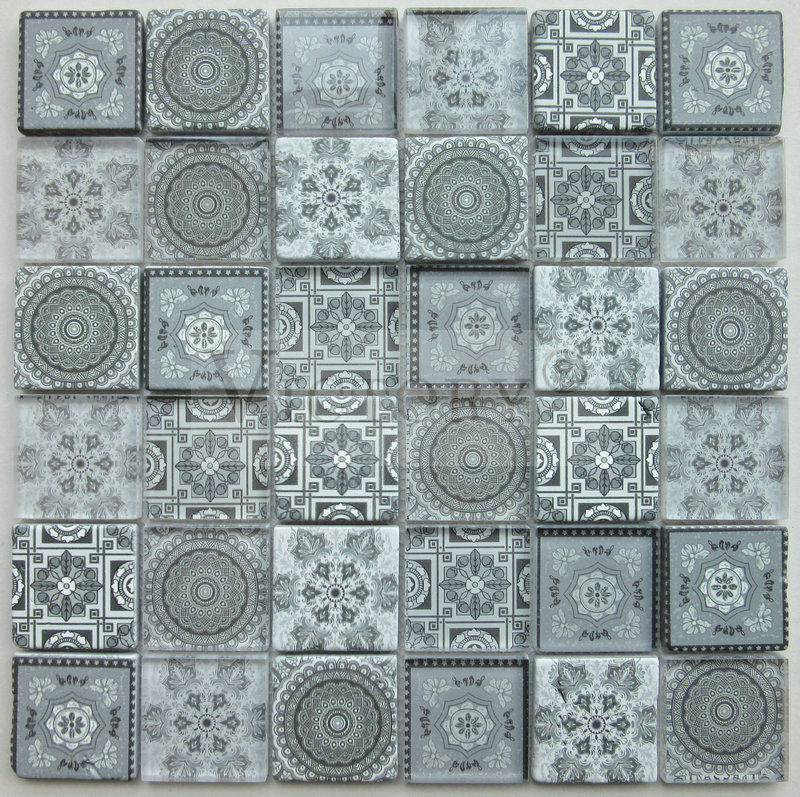

How To Install Mosaic Tiles With Mesh Backing Factory Your Trusted OEM Partner
Top Selling Products

- Related Blog
- Reviews
